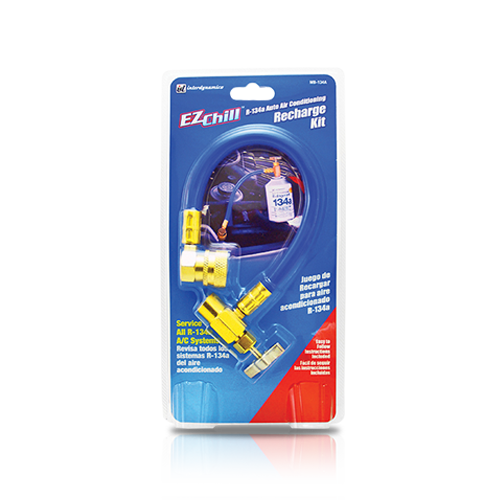
MB-134a | EZ Chill® R-134a Recharge Hose (Metal)
Product Features
- R-134a recharge hose for charging through automotive A/C low-pressure service port
- All-metal construction: quick-connect coupler and can tap
Usage Directions
Always use protective gloves and eye wear
1. FIND LOW-PRESSURE PORT & REMOVE CAP: It usually has a blue or black dust cap and is located on the larger diameter tubing that runs between the evaporator (in the dashboard) and the compressor (on the engine). This kit’s coupler will only fit on this low-pressure port. Unscrew the dust cap.
2. FILL: Before charging, check all warnings and read instructions on R-134a can.
- Connect hose to dispensing/piercing valve. Fully retract piercing valve stem by turning handle counterclockwise; attach valve to R-134a can.
- Make sure engine is running and A/C is set to maximum cooling
- Connect the charge-coupler to low-pressure port. Pull back the charge-coupler sleeve and push the coupler onto the port. Release the sleeve to lock the coupler into position. DO NOT attach to high-side service port, as can may burst.
- Add contents to your A/C system. Shake can well. Turn the valve handle clockwise to puncture the can. Turn the valve handle back (counterclockwise) until it stops to open the valve. While charging, rotate can between 12 o’clock and 3 o’clock every two to three seconds while continually agitating (shaking) the can back and forth. Continue this process until the can is empty, (five to 15 minutes) or until the correct amount of refrigerant is charged into the A/C system. When can feels empty hold upside down for one minute to remove all additives before disconnecting from service port.
- When the delivery procedure is completed, close the valve (turn clockwise until it stops). Disconnect the charge-coupler from the low-pressure port by pulling back the coupler sleeve. Keep the piercing valve connected to the can if it is not completely empty. If the can is empty, remove it and unscrew the piercing needle to its retracted position to prepare it for its next use.
- Screw the dust cap back onto low-pressure port.
 Warning: Cancer and Reproductive Harm - www.P65Warnings.ca.gov